Rooting a Hikvision Indoor Station to set a static IP address
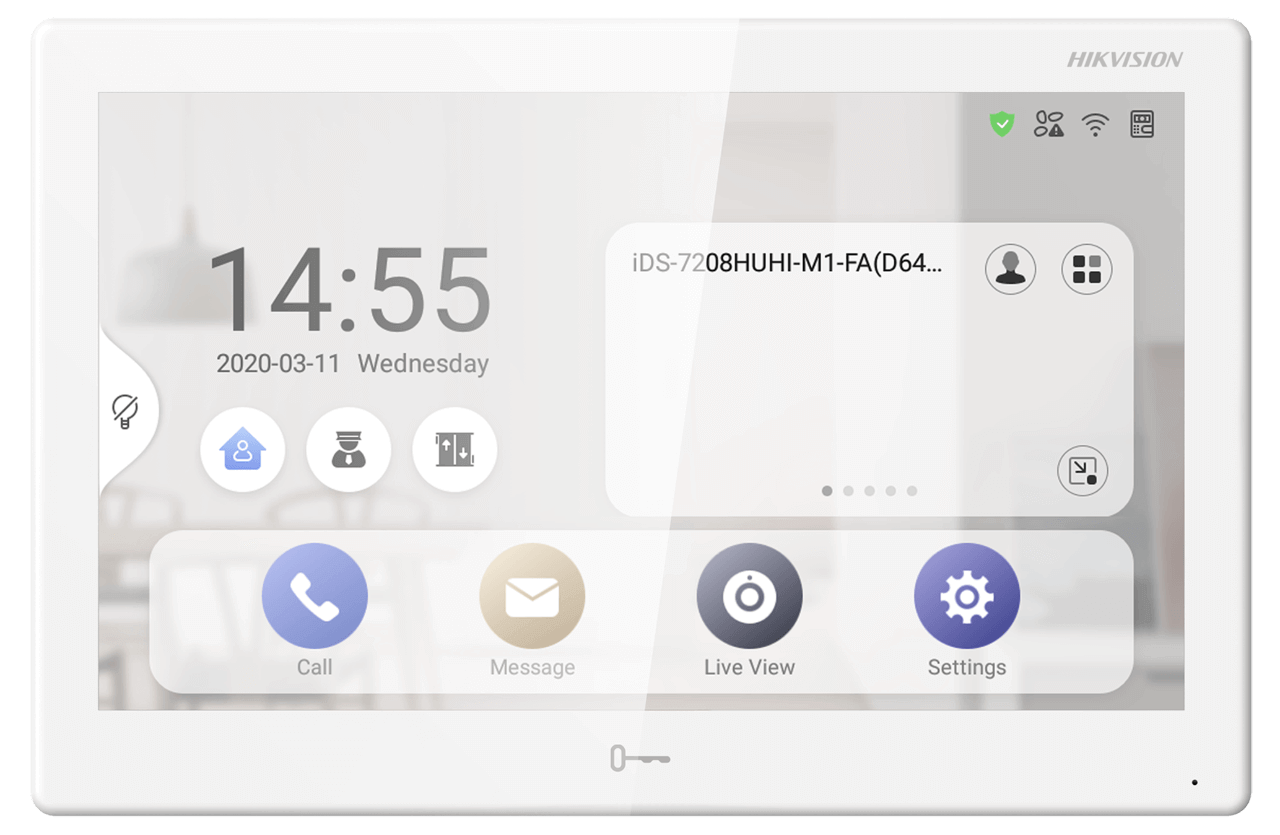
Recently, I’ve been tinkering with a Hikvision surveillance system which includes an Android Indoor Station aptly named DS-KH9510-WTE1. Whilst this runs Android behind the scenes, it exposes a custom UI made by Hikvision that completely hides the standard Android screens and menus.
This particular indoor station can be connected via either Wi-Fi or Ethernet. When I designed the network topology, I assumed that configuring a static IP address for this device would be trivial regardless of whether it was connected wired or wirelessly. Needless to say, I was wrong!
After connecting the device to the wireless network, I opened the custom UI to configure the IP address and was greeted with the following:
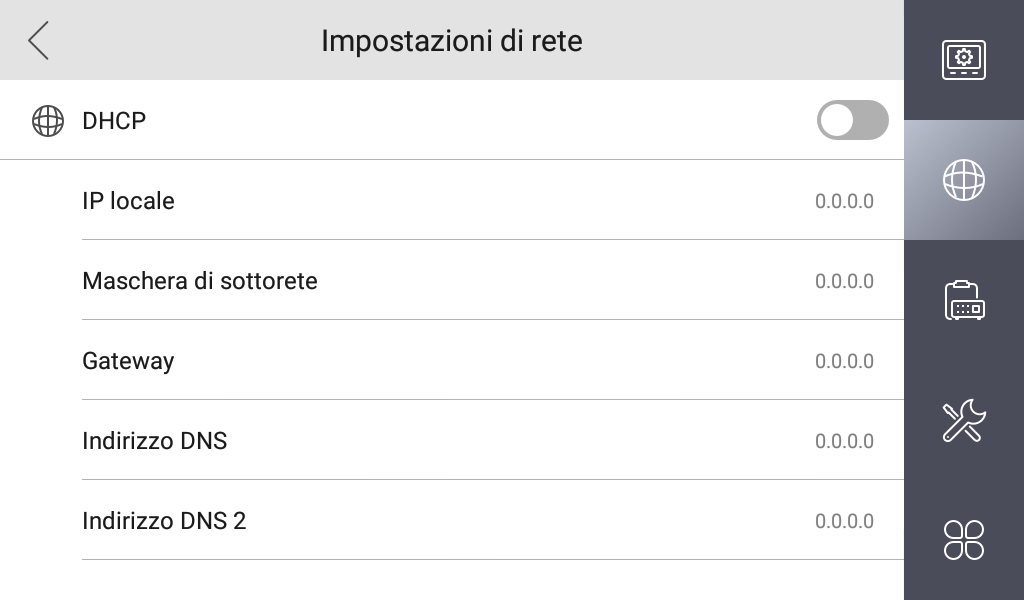
As the network has no DHCP server it made sense for everything to default to 0.0.0.0, so I filled in the correct IP and subnet mask using the software keyboard. Frustratingly, after I navigated away from the screen and came back to it, everything reset back to 0.0.0.0. This was made even more confusing by the lack of a save button and any feedback at all (am I doing this wrong? Is there something I am supposed to press?).
After testing with other networks and via Ethernet, I finally realized that this UI only works for the wired network interface and not WLAN. Since Hikvision restricted the ability to access the normal Android settings, this means that it’s effectively impossible to use this device with a wireless AP with no DHCP server.
I considered setting up a DHCP server exclusively for this device, but I wanted to see whether I could somehow gain root access and manually configure the network. I thought about a few options:
- If I was able to access
adb, I should be able to obtain a shell and go from there. - Hikvision offers a mechanism to install arbitrary APKs to the device. This could be a relatively easy way in, especially if the device is running an old kernel version that has known privilege escalation vulnerabilities.
- Patching a firmware update to either give me access to the built-in Android settings or another way in.
Attempting USB debugging
The device has a microUSB port on the back which looked promising, opaquely indicated by the device’s manual as a “debug port” without any other detail. I plugged it in my laptop, but unfortunately adb refused to acknowledge its existence:
$ adb devices
$
I also tried to use ADB on TCP/IP on all open ports on the device to no avail. After looking around for a while (there’s surprisingly little information about these online!), I learned that there’s a proprietary Hikvision software named iVMS-4200 that can be used to configure their products in ways that are normally not exposed from the standard UIs.
I proceeded to install the software in a sandboxed Windows desktop environment and connect it to the device. I was optimistic when I saw that this software could also configure the network, but quickly realized that it’s broken in the same way as the Android counterpart. This disappointment was quickly shadowed by the finding of an option to enable adb on the device!
Once enabling that and connecting it again to my laptop, I could see a glimmer of light:
$ adb devices
List of devices attached
EMQVXXXXXX  device
Thinking to have finally cracked the puzzle, I proceeded to immediately launch a shell:
$ adb shell
new sh.
BusyBox vMar 16 2020 Protect Shell Build Time: 15:17:17:(null)
Enter 'help' for a list system commands.
The “Protected Shell”
It turns out that Hikvision limits shell access to their devices via a “protected shell”, which as you can guess exposes very little of a normal UNIX system:
# help
Support Commands:
sipCmd                      visPrt                      setIp
getNum                      getDspInfo                  getHardInfo
getPort                     getGateway                  getIp
t1                          t2                          dmesg
help                        Debug                       reboot
It also looks like they didn’t put much effort in porting this shell (normally used on their full-fledged Linux cameras/NVRs) to Android, since most of the commands fail with this opaque error:
# setIp nnn.nnn.nnn.nnn:255.255.255.0
unknown cmd 0x2
Interestingly, there is a ‘debug’ command that seems to output a short Base64 challenge and expect a password in return:
# Debug
CAAAA<snipped>
Password:
Incorrect Password. 4 Times Left
At this point, I was determined to retrieve the shell binary and reverse engineer it to figure out the debug mode. Normally, this would have required downloading and unpacking the firmware image of the device, but perhaps we can get around that by simply using adb pull:
$ adb pull /system/bin/psh
/system/bin/psh: 1 file pulled, 0 skipped. 3.4 MB/s (14072 bytes in 0.004s)
$ file psh
psh: ELF 32-bit LSB shared object, ARM, EABI5 version 1 (SYSV), dynamically linked, interpreter /system/bin/linker, stripped
Yes! I started to reverse the binary and noticed references to asymmetric cryptography, including a file named psh_rsa.conf. But shortly after diving into this rabbit hole, I realized that I just used adb to pull the binary. What other adb primitives can I use to bypass this?
The analog adb hole
AOSP builds that have been compiled using ro.debuggable=1 allow to restart the on-device adb daemon as root by simply running adb root. Surely they wouldn’t allow me to do that?
$ adb root
adbd is already running as root
Unexpectedly, this isn’t even necessary! This means that the device is running with ro.secure=0, which serves as a good confirmation of my decision to run this on an isolated network. Unless explicitly disabled, this also means that I should have unlimited write access to the filesystem using adb push. I immediately tried to push the binary I pulled back to its original location:
$ adb push psh /system/bin/psh
psh: 1 file pushed, 0 skipped. 45.1 MB/s (14072 bytes in 0.000s)
adb: error: failed to copy 'psh' to '/system/bin/psh': remote Read-only file system
Oops! By default, Android have their /system partition mounted as read-only. If I had access to a shell, I would simply run mount -o remount,rw /system to get around it, but obviously their restricted shell wouldn’t allow that. On recent-ish adb versions, though, adbd also exposes a way to remount the system partition without going through the shell:
$ adb remount
remount succeeded
I am speechless. But now, what should I replace the “protected shell” with? The easiest way would be to look if there’s a normal, non-protected shell somewhere on the system. I looked in the most obvious location, pulled the binary, and confirmed that it’s not a symlink to the protected shell:
$ adb pull /system/bin/bash
adb: error: remote object '/system/bin/bash' does not exist
$ adb pull /system/bin/dash
adb: error: remote object '/system/bin/dash' does not exist
$ adb pull /system/bin/sh
/system/bin/sh: 1 file pulled, 0 skipped. 2.7 MB/s (161568 bytes in 0.058s)
$ md5sum sh psh
ad49520ba01a24308f77673722496b5a  sh
4ed035da0046aa6c49017dd21605595c  psh
Let’s replace the built-in protected shell with what we hope is a normal shell:
WARNING for everyone following along at home: if you’re doing this, please backup the existing /system/bin/psh to a safe location.
$ adb push sh /system/bin/psh
sh: 1 file pushed, 0 skipped. 77.0 MB/s (161568 bytes in 0.002s)
Time to see if all of this effort paid off. With all of my fingers crossed, I ran adb shell…
… which yields endless repetition of the line new sh:
$ adb shell
new sh.
new sh.
<repeated many times>
My Ctrl-C reflex immediately kicked in, and somehow that was all it took to gain a root shell!
new sh.
^C130|VIS:/ #
Looking at the build information, it definitely looks like security wasn’t much of a priority when this device was built:
# getprop
[ro.build.description]: [rk312x-userdebug 5.1.1 LMY49F eng.zhangshaohu.20201126.110709 test-keys]
[ro.build.flavor]: [rk312x-userdebug]
[ro.build.tags]: [test-keys]
[ro.build.type]: [userdebug]
[ro.build.version.security_patch]: [2016-04-01]
For the curious, here’s a dump of build information, available binaries and more.
Now, can I change my Wi-Fi settings please?
So here’s a question I didn’t originally think about when I began this journey: how do I actually change the wireless network settings after I have shell access? Accessing some obscure Android configuration file perhaps?
Turns out that it’s much easier than that. Just start the activity for the original Android Wi-Fi settings!
# am start -n com.android.settings/com.android.settings.wifi.WifiSettings
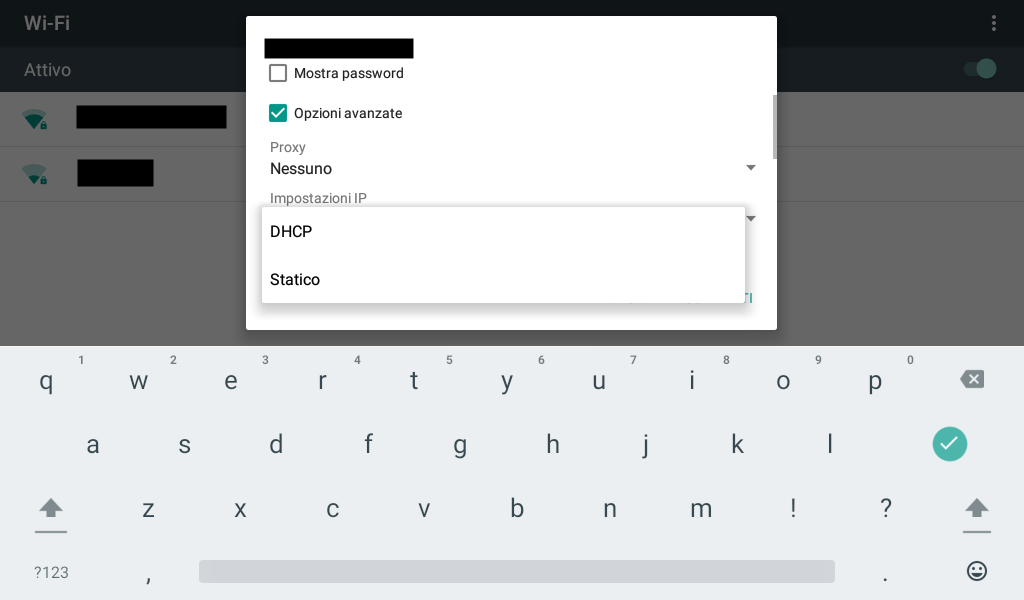
Eureka! I can now successfully connect to my network.
A note of warning for anyone who might be attempting this in the future: before rebooting the device, you must restore the original /system/bin/psh binary, or the system won’t boot. I suspect this is because of the print loop that happens above which probably prevents some built-in commands to execute, and might be able to be circumvented by changing the default root shell. However, simply restoring the psh binary does the trick, and you can always swap it back when needed.